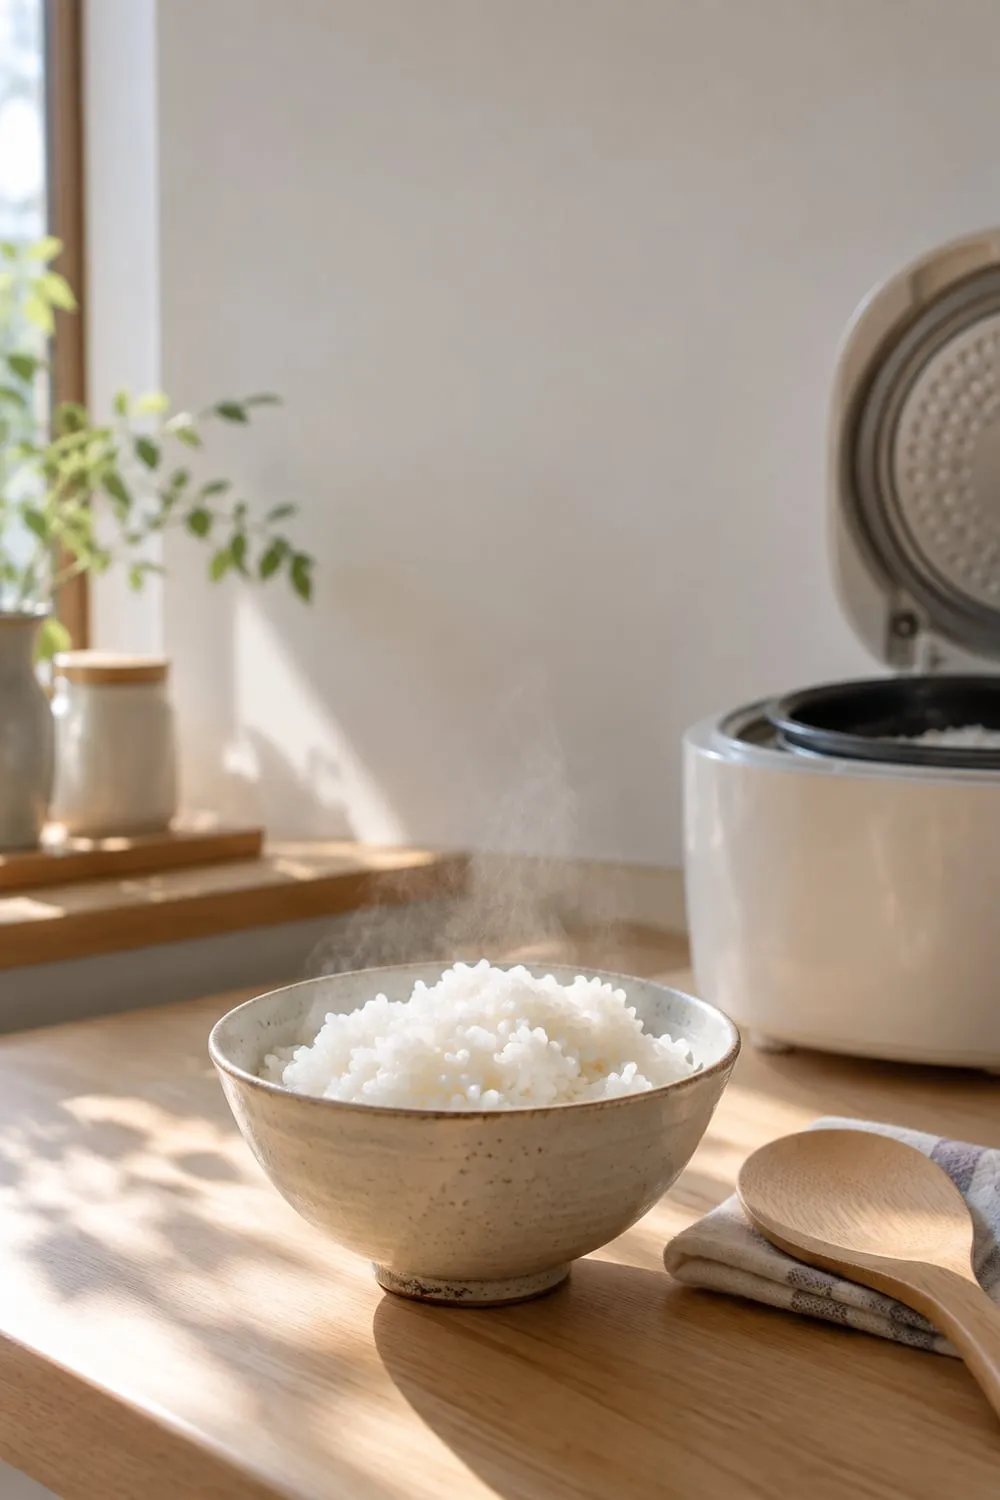
Most rice that goes wrong outside Japan goes wrong for one of two reasons: it’s the wrong kind of rice, or it was measured with the wrong cup. Both are easy to fix, and once they are, everything else is a fairly short routine.
Start with short-grain rice
Look for short grain on the bag. That’s the whole requirement.
Long-grain rice — jasmine, basmati — is bred to stay separate. Short-grain rice cooks up soft and slightly sticky, so it holds together when you pick it up with chopsticks, shape it into onigiri, or eat it out of a bowl. Substituting one for the other doesn’t produce a variation on the dish; it produces a different dish.
Beyond that, don’t agonize. In Japan we choose by variety name rather than grain length — Koshihikari, Akitakomachi, and so on — but I don’t stick to one. I buy whatever looks reasonable at the price, and honestly they’re all good. The variety matters far less than the grain shape.
Short-Grain Japanese Rice
Look for "short grain" on the bag. Long-grain rice will not hold together, which means no onigiri, no rice bowls, and nothing you can pick up with chopsticks. Koshihikari is the variety you will see most often, though the variety matters much less than the grain shape.
View on Amazon Opens Amazon.com in a new tab. Paid link.Wash it, gently
Put the rice in the cooker’s inner pot or a bowl and add water.
The first water matters most, because dry rice starts absorbing the moment it gets wet — whatever is in that first pour goes into the grain. I use filtered or bottled water for the first rinse for that reason. Add it, stir once with your hand, and pour it off fairly quickly.
Then add fresh water and wash properly. Move the grains around with your hand; don’t grind them together. Modern rice is milled well enough that aggressive washing isn’t necessary — and the newer the rice, the less it needs. Four changes of water is about right in my kitchen.
It does not need to run clear. Merely cloudy rather than milky is fine, and chasing perfectly clear water just breaks grains.
Pre-washed rice, sold as musenmai, skips this entirely. It costs a little more and it’s genuinely popular. I don’t use it, but there’s nothing wrong with it.
Let it soak
After washing, let the rice sit in its cooking water before you start it.
This is the step Western recipes leave out, and it’s what stops rice being soft outside and chalky in the middle. Soaking hydrates the grain all the way through, so it cooks evenly rather than from the surface in.
How long depends on the temperature of the water, which mostly means the season. Cold water is absorbed more slowly, so winter needs longer than summer. In my kitchen that works out at roughly:
- Summer — about 30 minutes
- Autumn — about 45 minutes
- Winter — about an hour
- In the refrigerator — about two hours
Don’t treat those as precise. The point is the direction: colder water, longer soak.
It’s an ordinary part of making rice here, not a refinement. That said, when I’m short of time I sometimes skip it and cook the rice straight away. It’s better soaked. It isn’t ruined unsoaked.
The cup, which is where most people come unstuck
A Japanese rice cup is about 180ml. A US cup is about 240ml.
This is the single most common reason rice fails outside Japan. Every Japanese recipe, and every water line inside a rice cooker pot, assumes the 180ml cup — the one that came in the box with the machine. Measure with a US measuring cup and fill to the same line and you have quietly changed the ratio, even though you followed the instructions exactly.
So: use the cup that came with the cooker, and the markings inside the pot, together. Don’t mix systems.
If you’re cooking in a pot instead, the working ratio for washed and soaked short-grain rice is roughly 1 part rice to 1.1 parts water by volume — nothing like the 1:2 used for long grain.
Cooking it
In a rice cooker: press the button. There is genuinely nothing to do. A decent cooker manages the heating stages itself, and interfering doesn’t help.
In a pot: it’s entirely possible, and people here do it. What matters is a lid that closes properly — the pot doesn’t have to be heavy, though a heavier one does cook more evenly. I’m not going to give you a time, because it depends on the pot, and a number that’s right for mine would be wrong for yours. The one rule that holds regardless: don’t lift the lid while it cooks.
Compact 3-Cup Rice Cooker
What matters is a white-rice setting and clear water lines inside the pot — you do not need a complicated machine to make good everyday rice. Three cups of uncooked rice is plenty for one or two people, and a compact one takes up very little counter space.
View on Amazon Opens Amazon.com in a new tab. Paid link.Rice cookers range enormously in price and complexity. What you actually need is a white-rice setting and clear water lines. The expensive induction and pressure models do cook more evenly and hold rice better over several hours — they’re genuinely better, and they are not the difference between good rice and bad rice.
Rest it, then loosen it
Rice needs a period of sitting covered after the heat stops, while the moisture evens out. Open it too early and you get wetter rice at the bottom and drier rice at the top.
If you’re using a rice cooker, this is already done. The steaming time is built into the cycle, so when it signals that it’s finished, it means finished — you don’t need to wait another ten minutes. If you’re cooking in a pot, that’s when you leave it alone with the lid on.
Either way, then open it and turn the rice over with a paddle — the flat one that came in the box with your rice cooker, or any spatula that won’t crush the grains. Not stirring: slide it down to the bottom, lift a section, and fold it over, cutting through rather than mashing. This lets the excess steam out and evens the moisture. It takes about twenty seconds and it visibly changes the texture.
Close the lid again until you’re eating.
What people get wrong
Cooking it like pasta. Short-grain rice is cooked by absorption — the measured water becomes the finished rice. Boiling it in excess water and draining is a different technique for different rice.
Skipping the soak and adding more water instead. More water and more soaking do different things. The first makes it wetter; the second makes it cook evenly.
Washing it to death. Gentle is enough. See above.
Opening the lid. During cooking, and during the rest afterwards.
Leftovers
Freshly cooked rice is best, but I’ve never thrown leftover rice away in my life. It goes in the refrigerator or the freezer, always. I wouldn’t want to claim nobody in Japan ever bins it, but I don’t think it occurs to most people as an option.
Freeze it in single portions. There are containers made specifically for this — I own some — though I usually reach for plastic wrap because it’s there. Either works. Onigiri freeze well too, which is useful for a fast lunch later.
Single-Portion Rice Freezer Container
Made for exactly one thing: freezing one bowl of cooked rice and microwaving it back. A raised base keeps the rice off any water that collects, and a vent lets steam out. Plastic wrap does the same job for free — this just does it more tidily.
View on Amazon Opens Amazon.com in a new tab. Paid link.On temperature, opinions genuinely differ. Some people say to wrap and freeze it while still hot, to trap the steam. Others say to let it cool first. I take the rough heat off and then freeze, and I’ll also freeze rice that has already gone cold after dinner rather than bin it.
What isn’t a matter of opinion: cooked rice shouldn’t sit out at room temperature for long. US FDA guidance is to refrigerate or freeze perishable food and leftovers within two hours — within one hour if it’s above 90°F (32°C). Rice is a food where that’s worth taking seriously. Put it away rather than leaving the pot on the counter all evening.
Reheating: microwave it covered, so it steams rather than dries, until hot all the way through.
The routine matters more than the machine
Short-grain rice, washed gently, soaked, measured with the right cup, rested and loosened. That’s it — five things, none of them difficult, and a rice cooker automates about half of them.
If you eat rice often, a cooker earns its counter space. If you don’t, a heavy pot and a lid you leave alone will get you most of the way there.